After we lost Buddy one winter, I decided it was time to fix the hood before the next grass cutting season. As expected, the plastic from which the hood was molded was not solvent weldable, and since I owned no plastic heat welding tools, the only option was to patch the cracks with fiberglass & resin.
The best way to address the issue would have been to drill holes on either side of the cracks to provide the resin anchor points. But for aesthetics, I only wanted to patch from the inside, and decided that laying out a large acreage of mat & resin stood a good chance of working. So that’s what I did, and most of the repair lasted for almost 10 years.
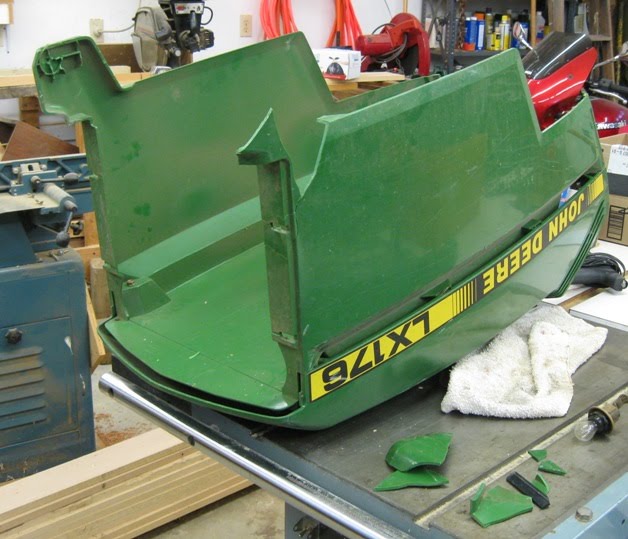
Last grass-cutting season, new cracks developed, and pieces of plastic started falling off around one of the hinge points. The lack of a sturdy pivot point made opening the hood really tough. In what was out of character for me, even though the mower never needed additional oil between changes, my solution then was to just stop checking the oil. If nothing else, the mower was 15 years old at that point. The hood is of a two-piece design, and the Dealer wanted $600 for a new lower section. Maybe it was just time to replace the mower.
This past weekend, as the oil was being changed in my vintage roto-tiller, I decided to go ahead and change the oil in all the other small engines in the garage. This meant it was time to open the John Deere’s hood for the first time in almost a year. Everything was pretty dusty, and since the battery needed to be checked, the opportunity was taken to hose the accumulated dirt off.
After cleaning, the motor looked like new, and I could re-read the words “iron sleeved cylinder”. As expected, the oil was at the ‘full’ mark. So, even though the hood was falling apart, the rest of the mower was not, and it seemed reasonable to investigate broken hood option 2 – Run without a hood.

Nope - Kim did not care for the look of that option at all. So the hood and all the broken pieces I could find were trotted off to the shop for option 3 – anchor-hole reinforced fiberglass mat & resin.
The goal was to have a functional hood good for a minimum of 10 more cutting seasons that did not look too bad. The repair’s first step was drilling a bunch of holes everywhere to act as anchor points. The individual pieces were then Super-glued together.

In a stroke of overkill, nylon twine was then sewn in a pleasing pattern through most of the holes.

Having through-holes drilled meant both sides of the hood would have to be worked during the same session. To keep the resin from dripping off of the hood’s out-side, a piece of 30 mil sheet poly was taped to it after glassing the first coat. The hood was then flipped to work on the in-side.

The hood’s pivot points also needed attention. After drilling a couple of anchor holes, a dam of hot glue was laid out to create a reservoir for a T-nut and resin.

I could have declared “effort complete” at this point. But even though the goal of “…that did not look too bad” is subjective, I decided to sand the area in preparation of painting it.

Fortunately, Rust-Oleum sells ‘John Deere’ green, and it was a fairly good match.

The family thought it looked pretty good.

The reassembled end result turned out looking better than I thought it would.

All it needs in time for spring is some painted-on flames running down the sides.
Flames for sure!!!!
ReplyDeleteAs Andy Owen would say, "That's a damn nice un'"
ReplyDeleteAlso, were you masking with electical tape there?
Nope - that's just a shadow. Electrical tape leaves too much gum behind.
ReplyDeleteDid the paint stick to the plastic? I have an F725 that has faded plastic and some cracks. I'd love to repaint it, but Krylon Fusion doesn't make a John Deere gren color. Thanks!
ReplyDeleteYes - as of June, the paint is still bonding well.
ReplyDeleteWhat kind of glue did you use to create a dam for the t-nut? Also, did your anchor holes go all the way through the hinge points on the hood? I am having the same problem with my LX 176.
ReplyDeleteI used hot glue sticks melted in a hot glue gun to create the dam. The hood was anchored on the T-nuts only - The hole did not penetrate the hood to be seen from the outside.
ReplyDeleteWow that was odd. I just wrote an really long comment but after I clicked submit my comment didn't show
ReplyDeleteup. Grrrr... well I'm not writing all that over again. Anyhow, just wanted to say great blog!