In a move that leaves most people scratching their heads, I enjoy keeping my 1967 Airstream Overlander’s original air conditioner running. Usually, the problem is somewhat obvious and with occasional help from a professional is quickly resolved. However finding a refrigerant leak that popped up after returning home from our last outing proved to be quite the challenge.

The outing itself was, in itself, a bit challenging – we had to pack a dorm room’s worth of clothing & furniture into the Airstream & truck to return number 2 son to the University of Alabama and a hide-a-bed sofa plus incidentals into the truck to leave at the condo in Tuscaloosa where number 1 son had been living. We stayed at a new-to-us campground near UA.
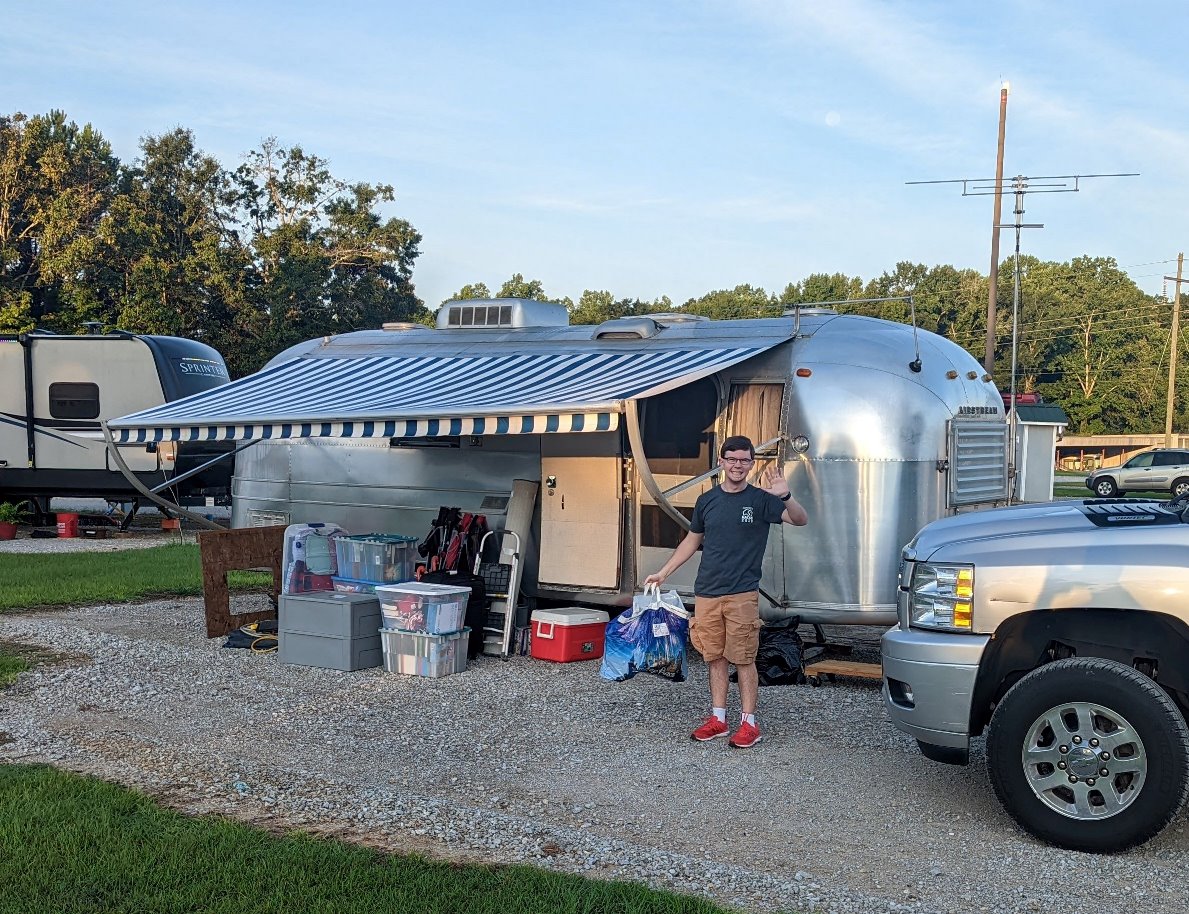
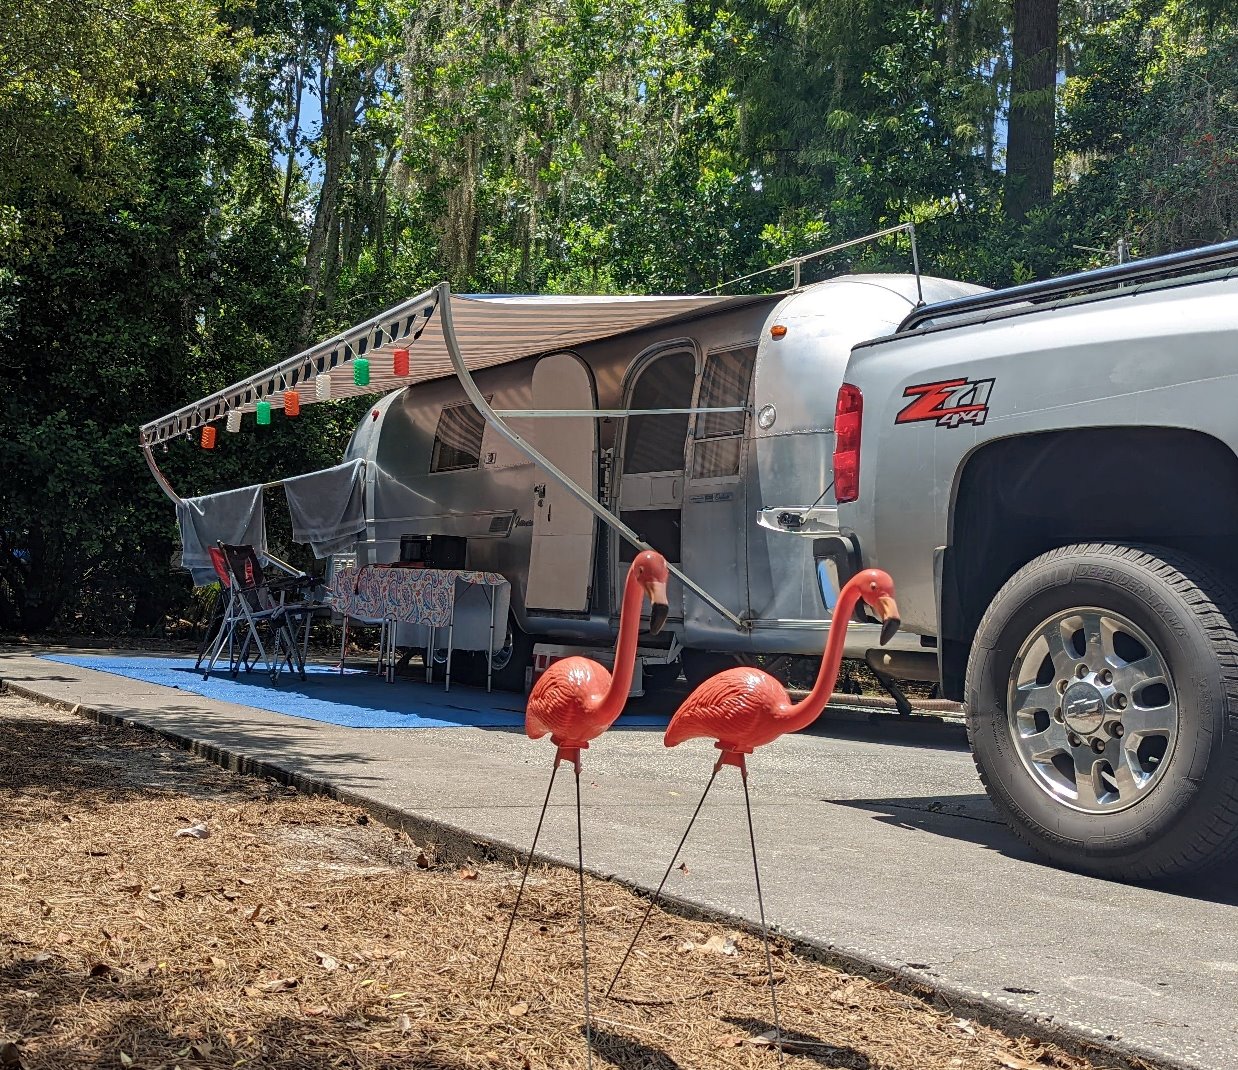
After getting number 2 son situated, we then proceeded to the condo to pack number 1 son’s clothes & incidentals for a move to a fully furnished apartment near the University of Florida. Once in Gainesville we stayed at a new, very nice campground. There was even another Airstream dad there doing a similar drill for his daughter.

After getting number 1 son situated at UF Kim & I drove further south to Fort Wilderness to enjoy a week at Disneyworld. We always enjoy our visits there and this time was no exception.
We used the Airstream’s air conditioner every day at each campground, and it performed flawlessly. Sadly, while cleaning the interior after returning home the next day I noticed the temperature had not dropped much while the AC was on. Only one of two banks of evaporator coils was cold, and it had frost forming on part of it – a sign of low refrigerant.
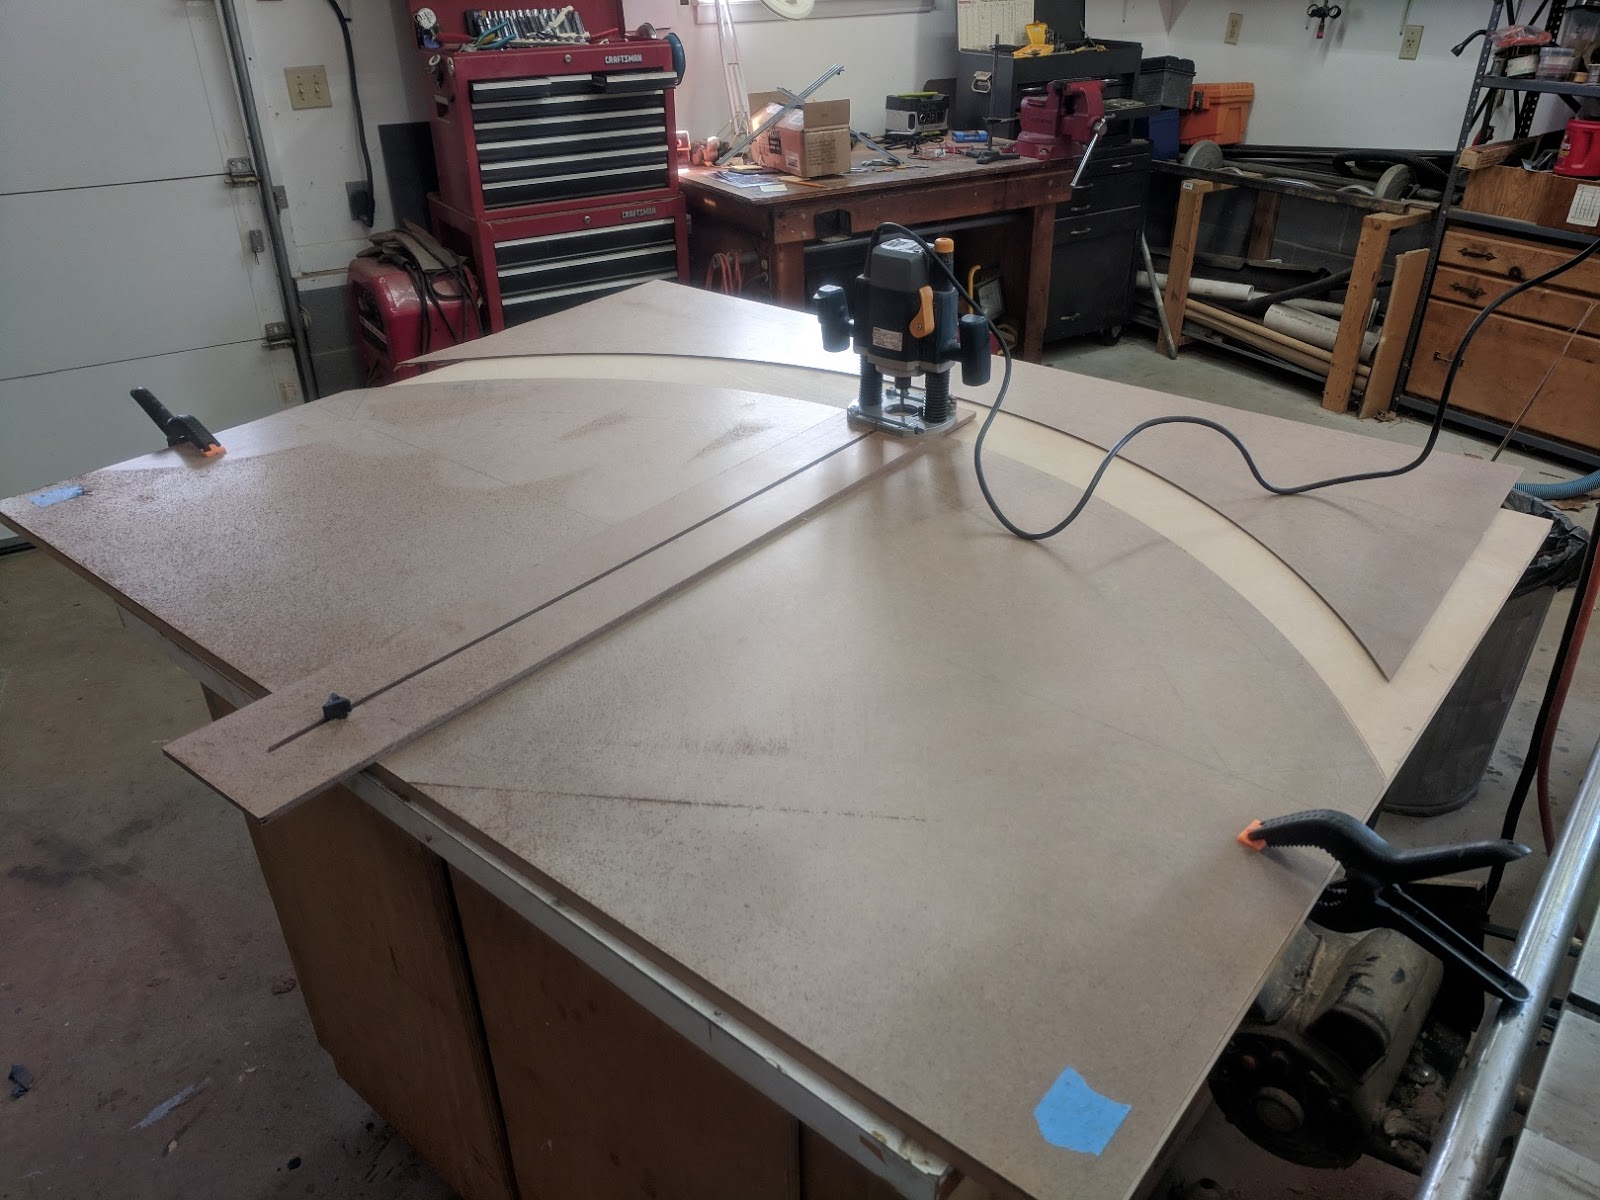
Several years ago, the Overlander got an Airstreamport to cover its parking pad. To facilitate the use of the various air conditioning tools required, 2X4 “joists” were strung between two of the metal studs. Sized 2X12s were then laid across the 2X4s on either side of the AC as decking.

After removing the shroud and case cover, one of the two condenser coil assemblies was found to have an oily residue. This is usually indicative of a leak path. But since this is in the location of a refrigerant leak repair done five or so years ago by someone else there was the possibility that it was old, uncleaned-off oil. It seemed prudent to continue looking for another leak path. Since the AC had gone from cooling just fine one day to barely cooling at all the next day, I figured the leak should be big enough to find in a reasonable amount of time.

Normally I get my friend Kenny to help me with his specialized HVAC tools. But since he was up to his armpits in other projects in his free time, he was happy to loan me his refrigerant leak detector.

After adding a little refrigerant to the system, sure enough the leak detector went wild every time its wand probed the oily area. To isolate the exact leak location the area was cleaned with coil cleaner in hopes the leak would bubble through the soapy solution. When that did not work Formula 409, my usual go-to leak detector was used. Realizing no joy again, a bottle of official leak detector was purchased & daubed everywhere.

It too, oddly enough, failed to bubble anywhere I could find. The condenser coil assembly was then removed from the air conditioner & thoroughly cleaned, inspected and leak-checked again with shop air with no new result. So, it was then pressurized to 120 psi in a bathtub full of water. To my phenomenal surprise there were no detectable bubbles.

Since there was no heated rush to get the unit repaired, I took a step back and started texting with three buddies who have more experience than me in these types of repairs. Although everyone was comfortable with my reasoning and sequence of steps, we all agreed the major leak path had not been located yet. We also agreed that my technique using the leak detector might need improvement. The Internet was here to help & had a plethora of proper leak detector usage suggestions which I took to heart. Feeling newly empowered with better technique it was now time for round two in the leak detection ring.
As Kenny was still busy with his projects, he loaned me his oxyacetylene rig so the condenser coil assembly could be silver-soldered the back in. Of note, SIL-FOS is both the current Industry Standard in brazing filler and Kenny’s preference.

Although the acetylene bottle was empty, the local welding gas supplier had no problem with me swapping it and a few bucks for a refilled one.
Since it has been quite a while since I have used an oxyacetylene rig, Mr. Google provided me with a picture of a proper flame’s appearance to refresh my memory.

Between my long-time experience soldering copper water supply lines and practicing with Kenny’s rig on copper fittings out of my spare parts box I felt up to the challenge of attempting the re-installation of the condenser coil assembly. To my relief the operation appeared to go well.
Although there did not appear to be any leakage at the Shrader valves, both inserts were replaced with new ones for good measure before continuing.
The unit was then pressurized with refrigerant in the calm of an early Saturday morning and allowed to stabilize while I climbed down for another cup of coffee. The leak detector was then trotted up the ladder to continue the quest. This time it never lifted an eyebrow at either condenser coil. But it repeatedly sounded off at the TEE from the compressor that feeds both coils. After slathering the TEE with leak detector and patiently waiting, a small, genuine leak was found on the bottom of the left side of the TEE with an inspection mirror.

For complete disclosure, in the picture above the copper line to the left of the TEE was replaced in a repair about five years ago. So, this was technically a cold solder joint that took a while to have a problem. Notice the pulled-back metal panel on the right side of the image - the technician who did the original repair did not have that luxury and could only work from above. Honestly, I am surprised there ended up being a problem.
After thoroughly Scotch-Briting the TEE and then getting Kenny’s rig involved again I swelled with pride over finding the exact problem and doing a good aesthetic job of repairing it. So, the unit was then pressurized, and I will be dog-gonned if it did not leak faster! After calming down I decided something else simple had gone wrong. Backtracking, the gauges were pulled off and the low-side Shrader valve was found to be leaking. Although we do not want that, it should not have been a problem with the gauges connected. Regardless, both inserts were tightened before re-connecting the gauges.
Success! This time there appeared to be no leak and the pressure appeared to go up as the morning warmed up as would be expected. My buddies all agreed that I must have not had the gauges screwed on well as the Shrader valves would not have figured into that scenario.
The vacuum pump then pulled the system down to 24 inches in short order and held it while I ran an errand. After purging once, the system pulled down to 26 inches and held that while the yard was cut. My trio of experienced friends confirmed my thought of the unit was good to recharge.
As I bought my Airstream from the original owner, part of the package involved getting the Factory-included paperwork from 1967. One of the documents was from the Armstrong Air Conditioner company who manufactured my Bay Breeze model unit. It included the weight of the system’s charge of R-22. After hoisting the scale up, the proper charge of liquid refrigerant was weighed in on the HIGH side with the unit off.

The rubber O-rings inside the 55-year-old AC’s Shrader valve caps had eroded so new caps were purchased after my favorite parts store cackled when asked for just the O-rings.

The air conditioner fired right up and began dumping out cold air through both sets of evaporator coils. In short order it also began dripping condensate. My trio of experts agreed the repair was a success.

As this is being written a couple of weeks after the repair, I just now confirmed my Bay Breeze is still dumping cold air out on both sides. My HVAC buddies and I agreed that the leak detector might have “lit” on the condenser coil at the start of this post because the sprayed oil stilled smelled like refrigerant from the original leak. No clue. Fortunately, my bottle of R-22 has enough left for two or three more repairs. If they each happen five years apart, I think I’m good. As an aside, when I was at the HVAC store buying piece-parts for the repair, I noticed 10-lb bottles of R-22 for sale. The fella behind the counter told me those were going for about $1000.
Ah! The joys of Vintage Airstream ownership!

.